Measham Outfitting – 10th. January – Installing the Wiring in the Ducts, and Starting the Internal Cladding
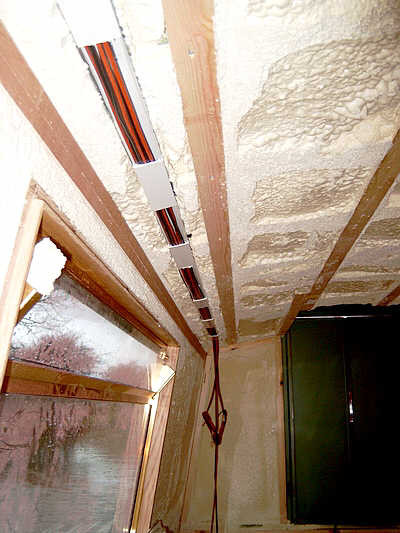 The foam insulation has now all been trimmed back and the trimmings cleaned from the boat prior to continuing the work on fitting out the narrowboat.
A number of processes will now start to run at the same time.
It is important to insert all necessary wiring into the ducting put in place before the foam insulation was applied.
This is because, although in theory it may be possible to “drag” new cables into the ducting, it is much easier to put it in place at this stage, prior to the internal cladding being fixed.
There are two main cabling ducts on both sides of the boat, either side of the ceiling, and about half way up on either side, just beneath the gunnels.
The various sets of cables will be produced through the facing cladding in the appropriate positions as the cladding panels are fixed.
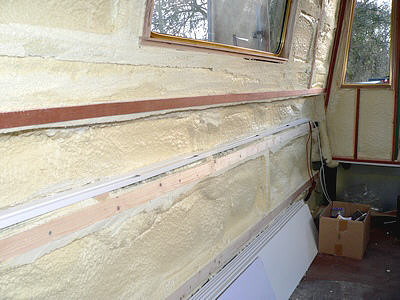 An image showing the ducting half way up on the left hand side of the boat looking from the rear.
Note all positions will be stated as if you are looking from the rear of the boat, even if the picture is taken from the front of the boat.
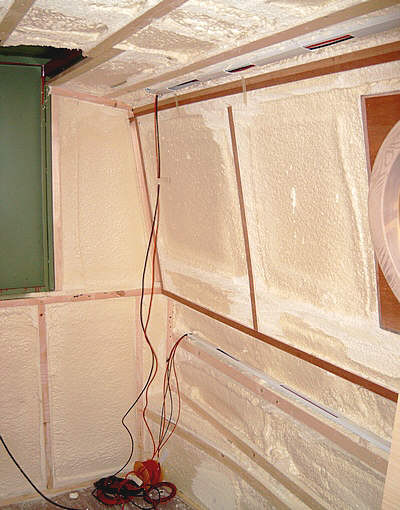 An image showing the termination of both cabling ducts, again on the left hand side of the boat, at the rear of the boat.
The cables will eventually be connected to power sources, 12 volt and 240 volt, switches, monitoring panels and controls.
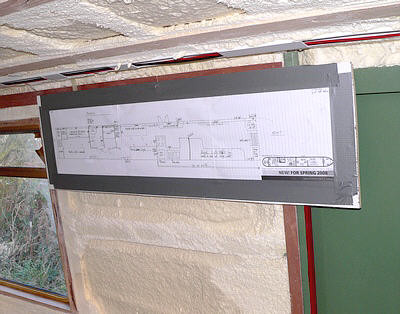 The “Master Plan” that will show those fitting out the boat where to introduce cables through the cladding, and where to place the internal bulkheads that define room sizes throughout the boat.
That is the theory, occasionally a few “tweaks” are necessary, but skilled boat fitters can usually make the necessary adjustments while displaying suitable verbal annoyance.
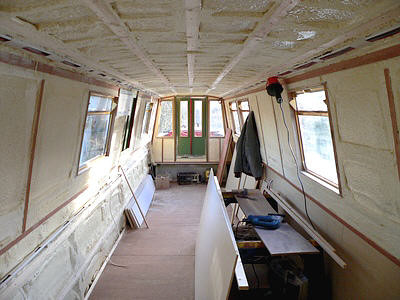 The lower cladding, on the right hand side, has already been installed in the mid section of the boat but it is hidden by the work bench.
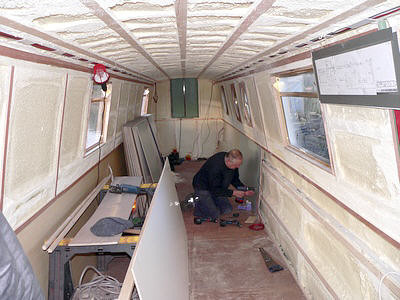 The lower cladding, on the left hand side of the mid section of the boat is now being fixed.
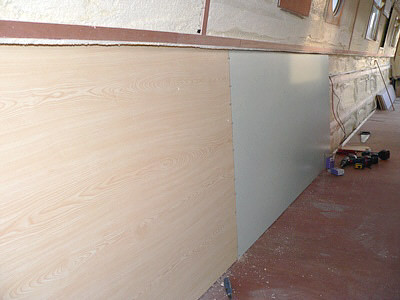 Looking at the fixed paneling from the rear of the boat.
Note the change in colour, the light green paneling will be where the bathroom is going to be located.
Once the internal cladding process has started the size of the panels means that the main areas of cladding are completed relatively quickly.
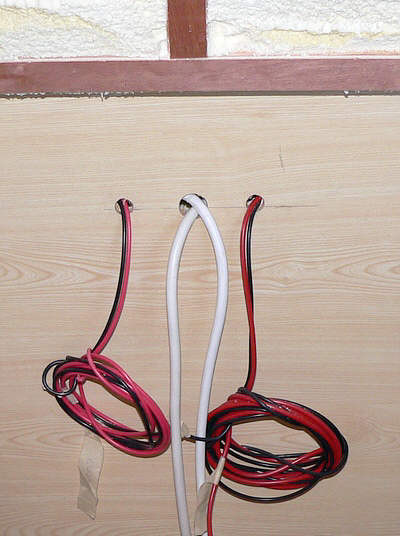 Wiring being pulled through the cladding at the appropriate points.
Towards the end of the fitting out the cables will be attached to more fragile items such as lights, plugs and switches.
The black and red wires will be part of the 12 volt system.
The three core white cables will be supplying 240 volts from an inverter to standard 240 volt appliances up to a power consumption of approximately 1000 watts.
Such items as televisions, DVD players, laptops, mobile telephone chargers, etc.