Measham Outfitting – 14th. February – Beginning the Finishing all through the Boat, and the Engine Fitting
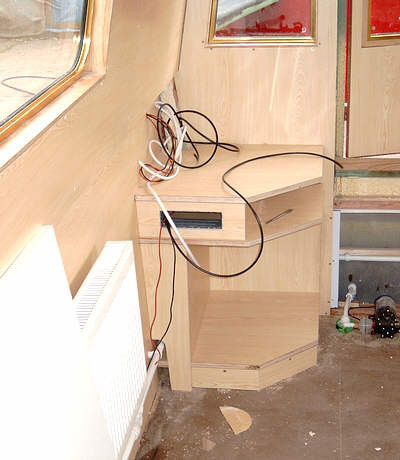 The pace of fitting out is continuing at full speed, with everything happening everywhere on the boat.
Again this page attempts to provide a selection of photographs indicating progress over the last ten days.
You may not see any significant structural differences because these major items are now complete.
The majority of the work is now on the detail and “finishing” which can take as long if not longer than what has gone before.
That is if you wish to achieve a quality interior to the narrowboat.
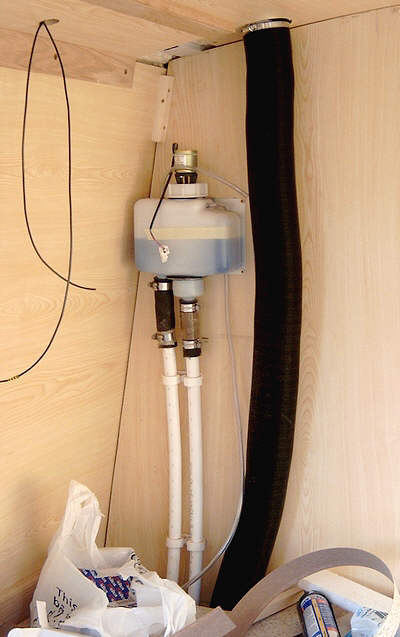 The chimney/flue piping to the Alde boiler is now fixed.
After final testing of the boiler and heating system this will all be enclosed.
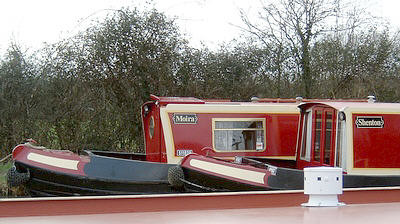 The image shows the outside “capping” to the Alde boiler flue pipe.
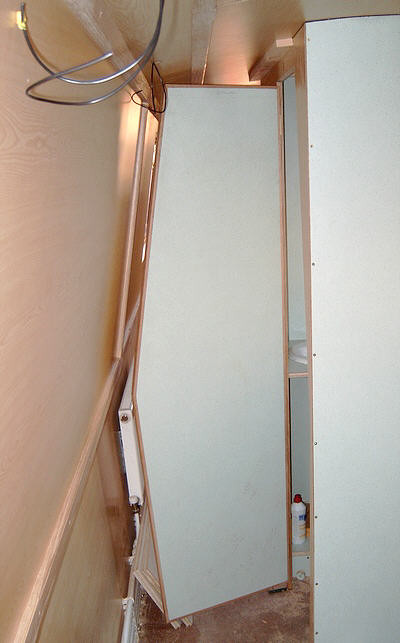 The first door of the fit-out has been fitted, this is the door to the toilet compartment.
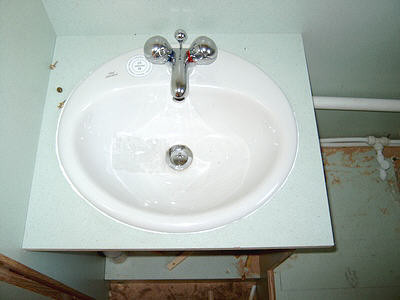 The wash hand basin has been fitted in the toilet compartment.
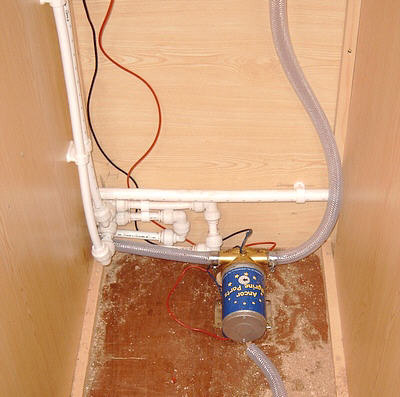 It may look the same as a picture on a previous page, but it is not.
You can now see that the waste pipe to the shower has been fitted, and a pump has been fitted to remove the water to the outside of the boat, it wil not get there by gravity as in a normal house.
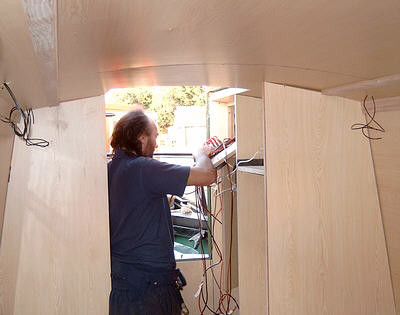 This is Steve, the engineer, fitting the main control box, I do not think I will disturb him with “stupid” questions, I think he is concentrating.
Do not let his lack of sartorial elegance cloud your opinion of his competence, as he is also the man who knows which pipes fit where on the calorifier.
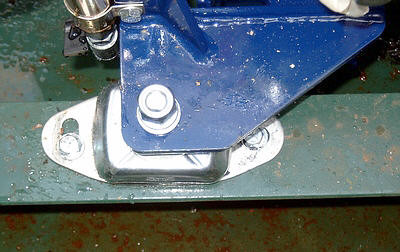 One of the anti vibration mounting “feet” showing how minor / movement of the engine position can be achieved.
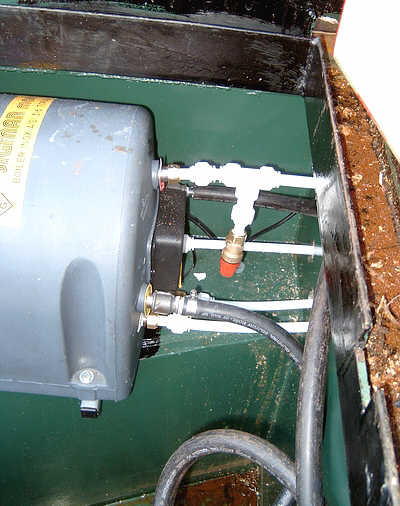 The calorifier now fixed and pipes have been connected.
The stainless steal water tank / calorifier, well it is stainless steel inside, surrounded by insulating foam with the out casing of impact resisting plastic.
In conjunction with the Alde central heating boiler, the heat exchanger, and the heat from the engine cooling system wonderful things can be done to ensure the efficient production and storage of hot water and the way it is used.
How it it does all this is beyond me, somebody knows where all the pipes come from and go to, not me, ask a man who knows.
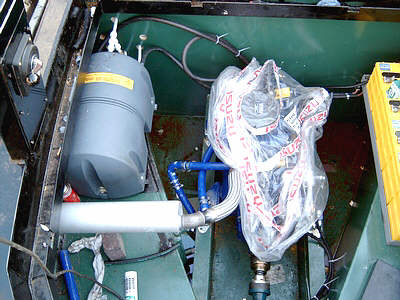 This image showing the general progress in the engine compartment, with the engine exhaust fitted, and connections (bright blue pipes) made to the skin tanks for engine cooling.
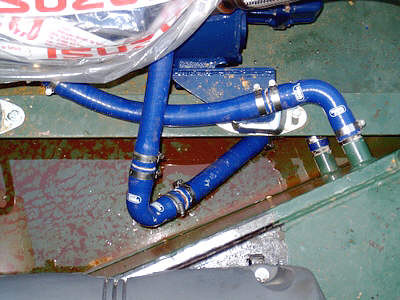 The thin “offset” that you can see the blue pipes connected to is a “skin tank”.
There are “skin tanks” on either side of the engine compartment, they are welded to the out steel hull of the boat and act in the same manner as a radiator does on a car, i.e. hot water from the engine passes to the “skin tank” it is cooled by the proximity of the cold water in the canal and cold water is returned to the engine to prevent it overheating.
Thermostats regulating the flow of water and maintaining the engine at its optimum running temperature.
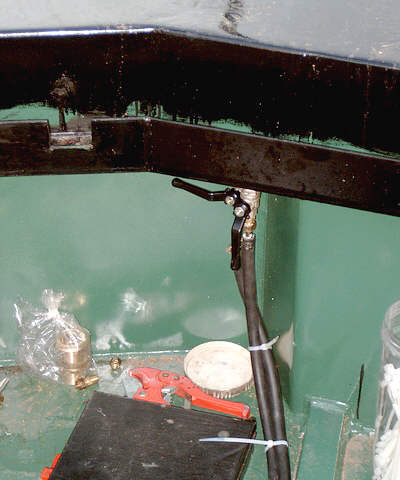 This image shows the flow and return cut off valves for the fuel (diesel) supply to the engine.
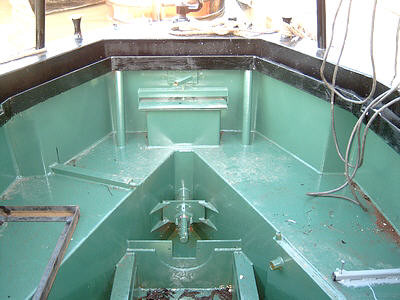 The “offsets” to the rear of the engine compartment and either side of the weed hatch inspection compartment are in fact the fuel tank.
“Not a lot of people know that”, I did not until yesterday, when I asked another “stupid” question, i.e. where is the fuel tank.
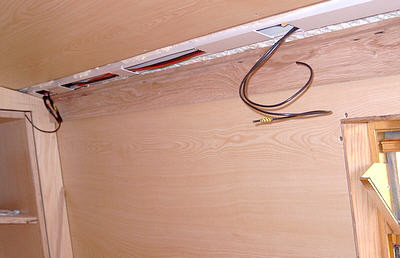 The finishing of the paneling of the interior of the boat has begun.
On Measham this is being implemented by using Natural Oak, routed, shaped and fixed as you will see in the following pictures.
This is where the skill that comes from experience produces a finish that results in a narrowboat of quality, which is extremely pleasing to cruise in.
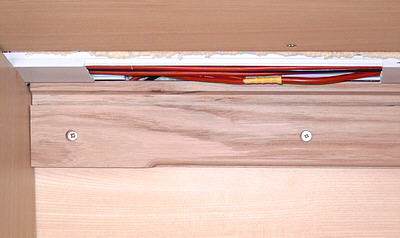 In the image to the left, look closely, and you will see the recess in which will be placed the edge of a length of paneling to cover the ducting containing the wiring looms.
Then an outside strip of Oak paneling will be fixed to secure the length of paneling.
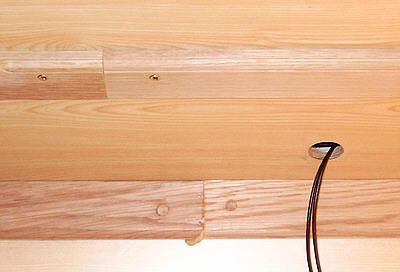 Permanently fixed capping has a recessed hole for the screw to be inserted, this is than capped with an oak wooden plug which is sanded to level to invisibly hide the fixing.
However the outer capping is fixed with brass screws, this allows the thin strips of paneling that cover the wiring ducting to be removed, should it be necessary any time in the future.
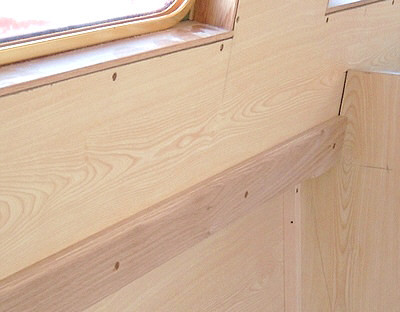 This image shows Oak capping over the gunnels.
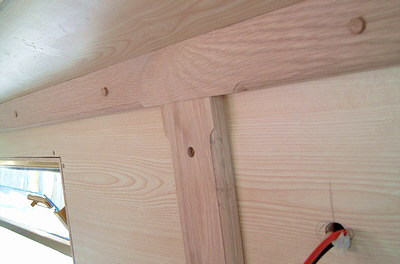 Close up images, to the side and below, showing the oak “plugs” being inserted, but not yet sanded.